Christmas DIY Decor
If you haven't figured it out just yet, I LOVE Christmas. I start listening to Christmas music the day after Halloween (check out my "Ultimate Christmas" music playlist on Spotify below!) I enjoy the crap out of gift giving (and shopping obviously) and I LOVE Christmas decorations! So yes, I did put up my Christmas decorations already, but don't hold that against me!! I just love them so much, I want to enjoy them as long as I possibly can!! So in case YOU love Christmas decorations as much as I do, I wanted to go ahead and share my DIY decor! And if you aren't quit ready for Christmas to invade your home just yet, Pin these cute, easy ideas for later (; I spent approximately $9 on the supplies for all three of my crafts, and I think they all turned out as cute as I had hoped!! I did start on Pinterest for inspiration, but ended up changing my mind on what I wanted to do when walking around the Dollar Tree for supplies (: Enjoy!
CHRISTMAS DOOR WREATH
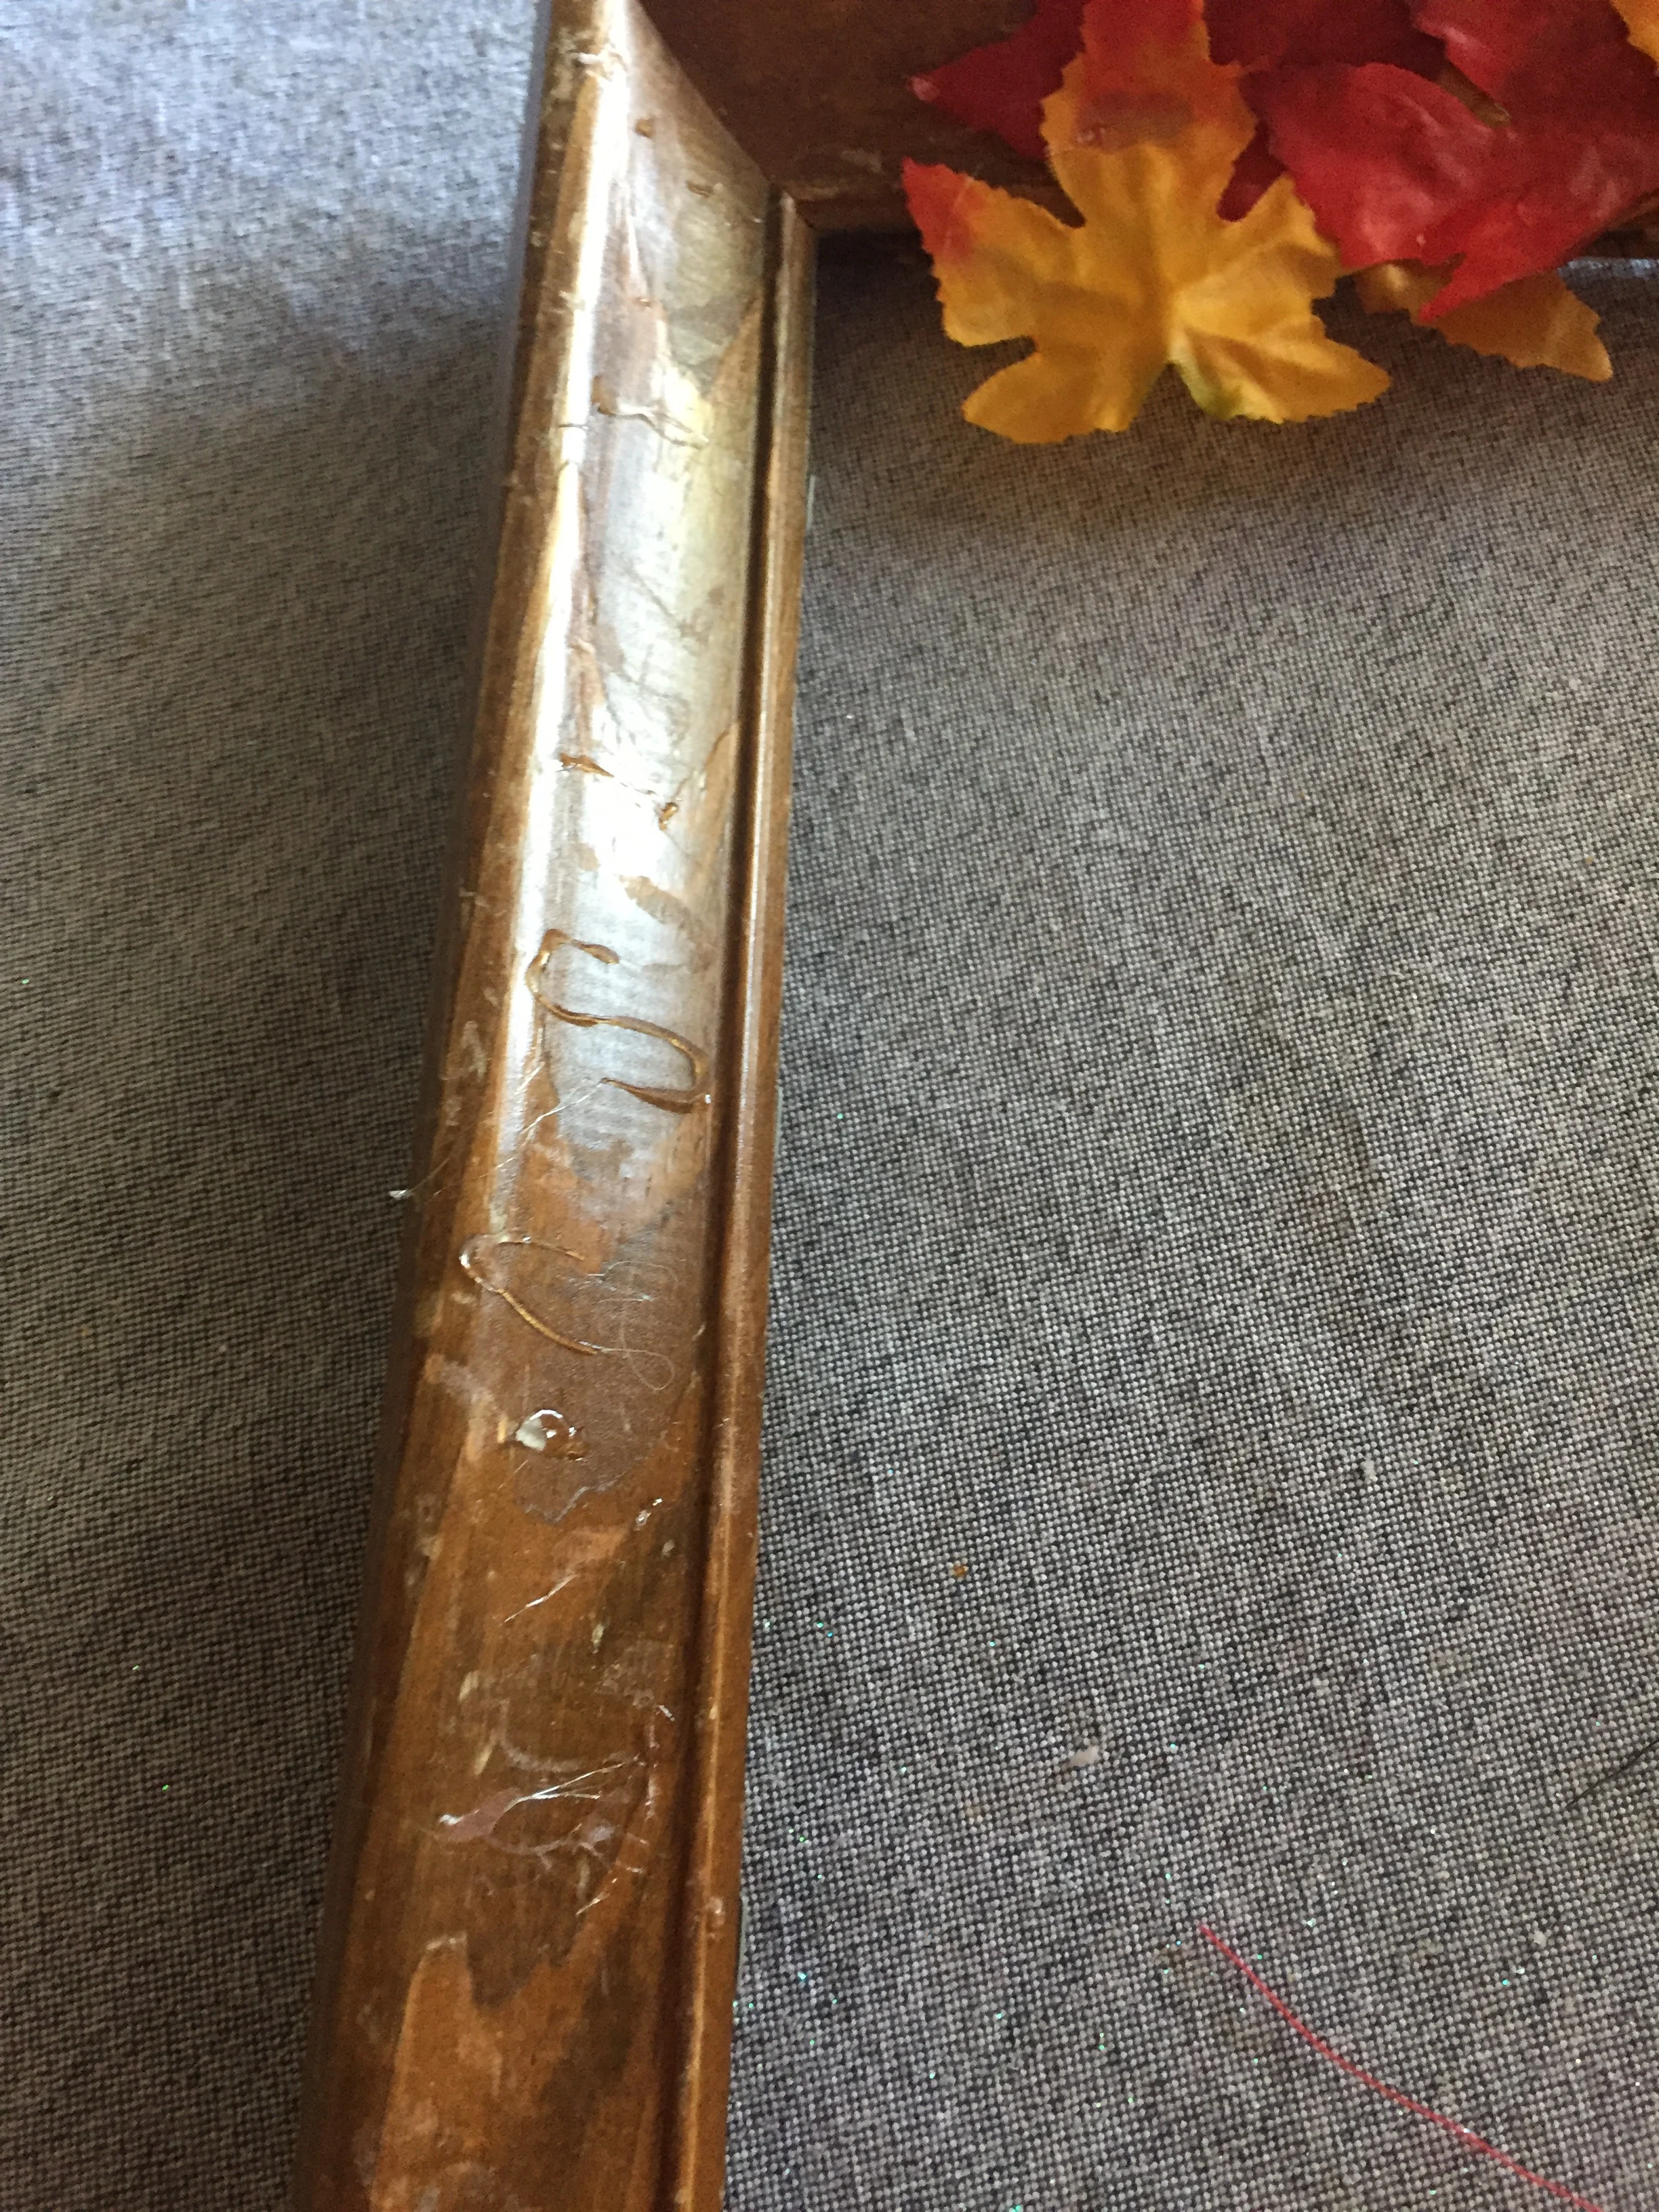
Look familiar? It should, because that's the thrift store frame I used for my fall door wreath (: Seemed silly not to use it again!! So I tore the leaves off and got to work!
- Wrap the Christmas garland of your choice (I picked shiny and green/silver, but I almost got the plain "greenery" style garland! Such a hard choice) around your "wreath" base. *This shiny stuff was kind of a pain, I ended up unraveling it from it's cardboard, and wrapping it around my hand. Made it much easier to wrap around the frame a million times.
- I didn't even hot glue this! It stayed so well, I didn't bother. But I wrapped it pretty tightly, so if yours ends up not tight in certain places, I would put some hot glue on there just to be safe!
- I bought the berries on one big stem, so I cut them off in bunches and arranged them how I wanted. Looked much nicer than how they had them arranged (plus I had a bunch of berry-less spots to get rid of where the Dollar Store lady was not very gentle with them...) I arranged them and then started gluing! EASY!!!
I think the berries would look really cute with the greenery garland, or even burlap/other ribbon. But this is what I found so this is what I made (:
Christmas Branch
In the theme of reusing, I of course wanted to reuse this branch. I have VERY MUCH SO enjoyed having it up there with the leaves. I had a really hard time deciding what to do with it for Christmas. I had originally thought pinecones, but when I saw these bulbs I thought they were a little more festive. Maybe pinecones will make an appearance after the holidays for a winter-branch... Anyways, I again just got rid of the leaves, and started fresh!
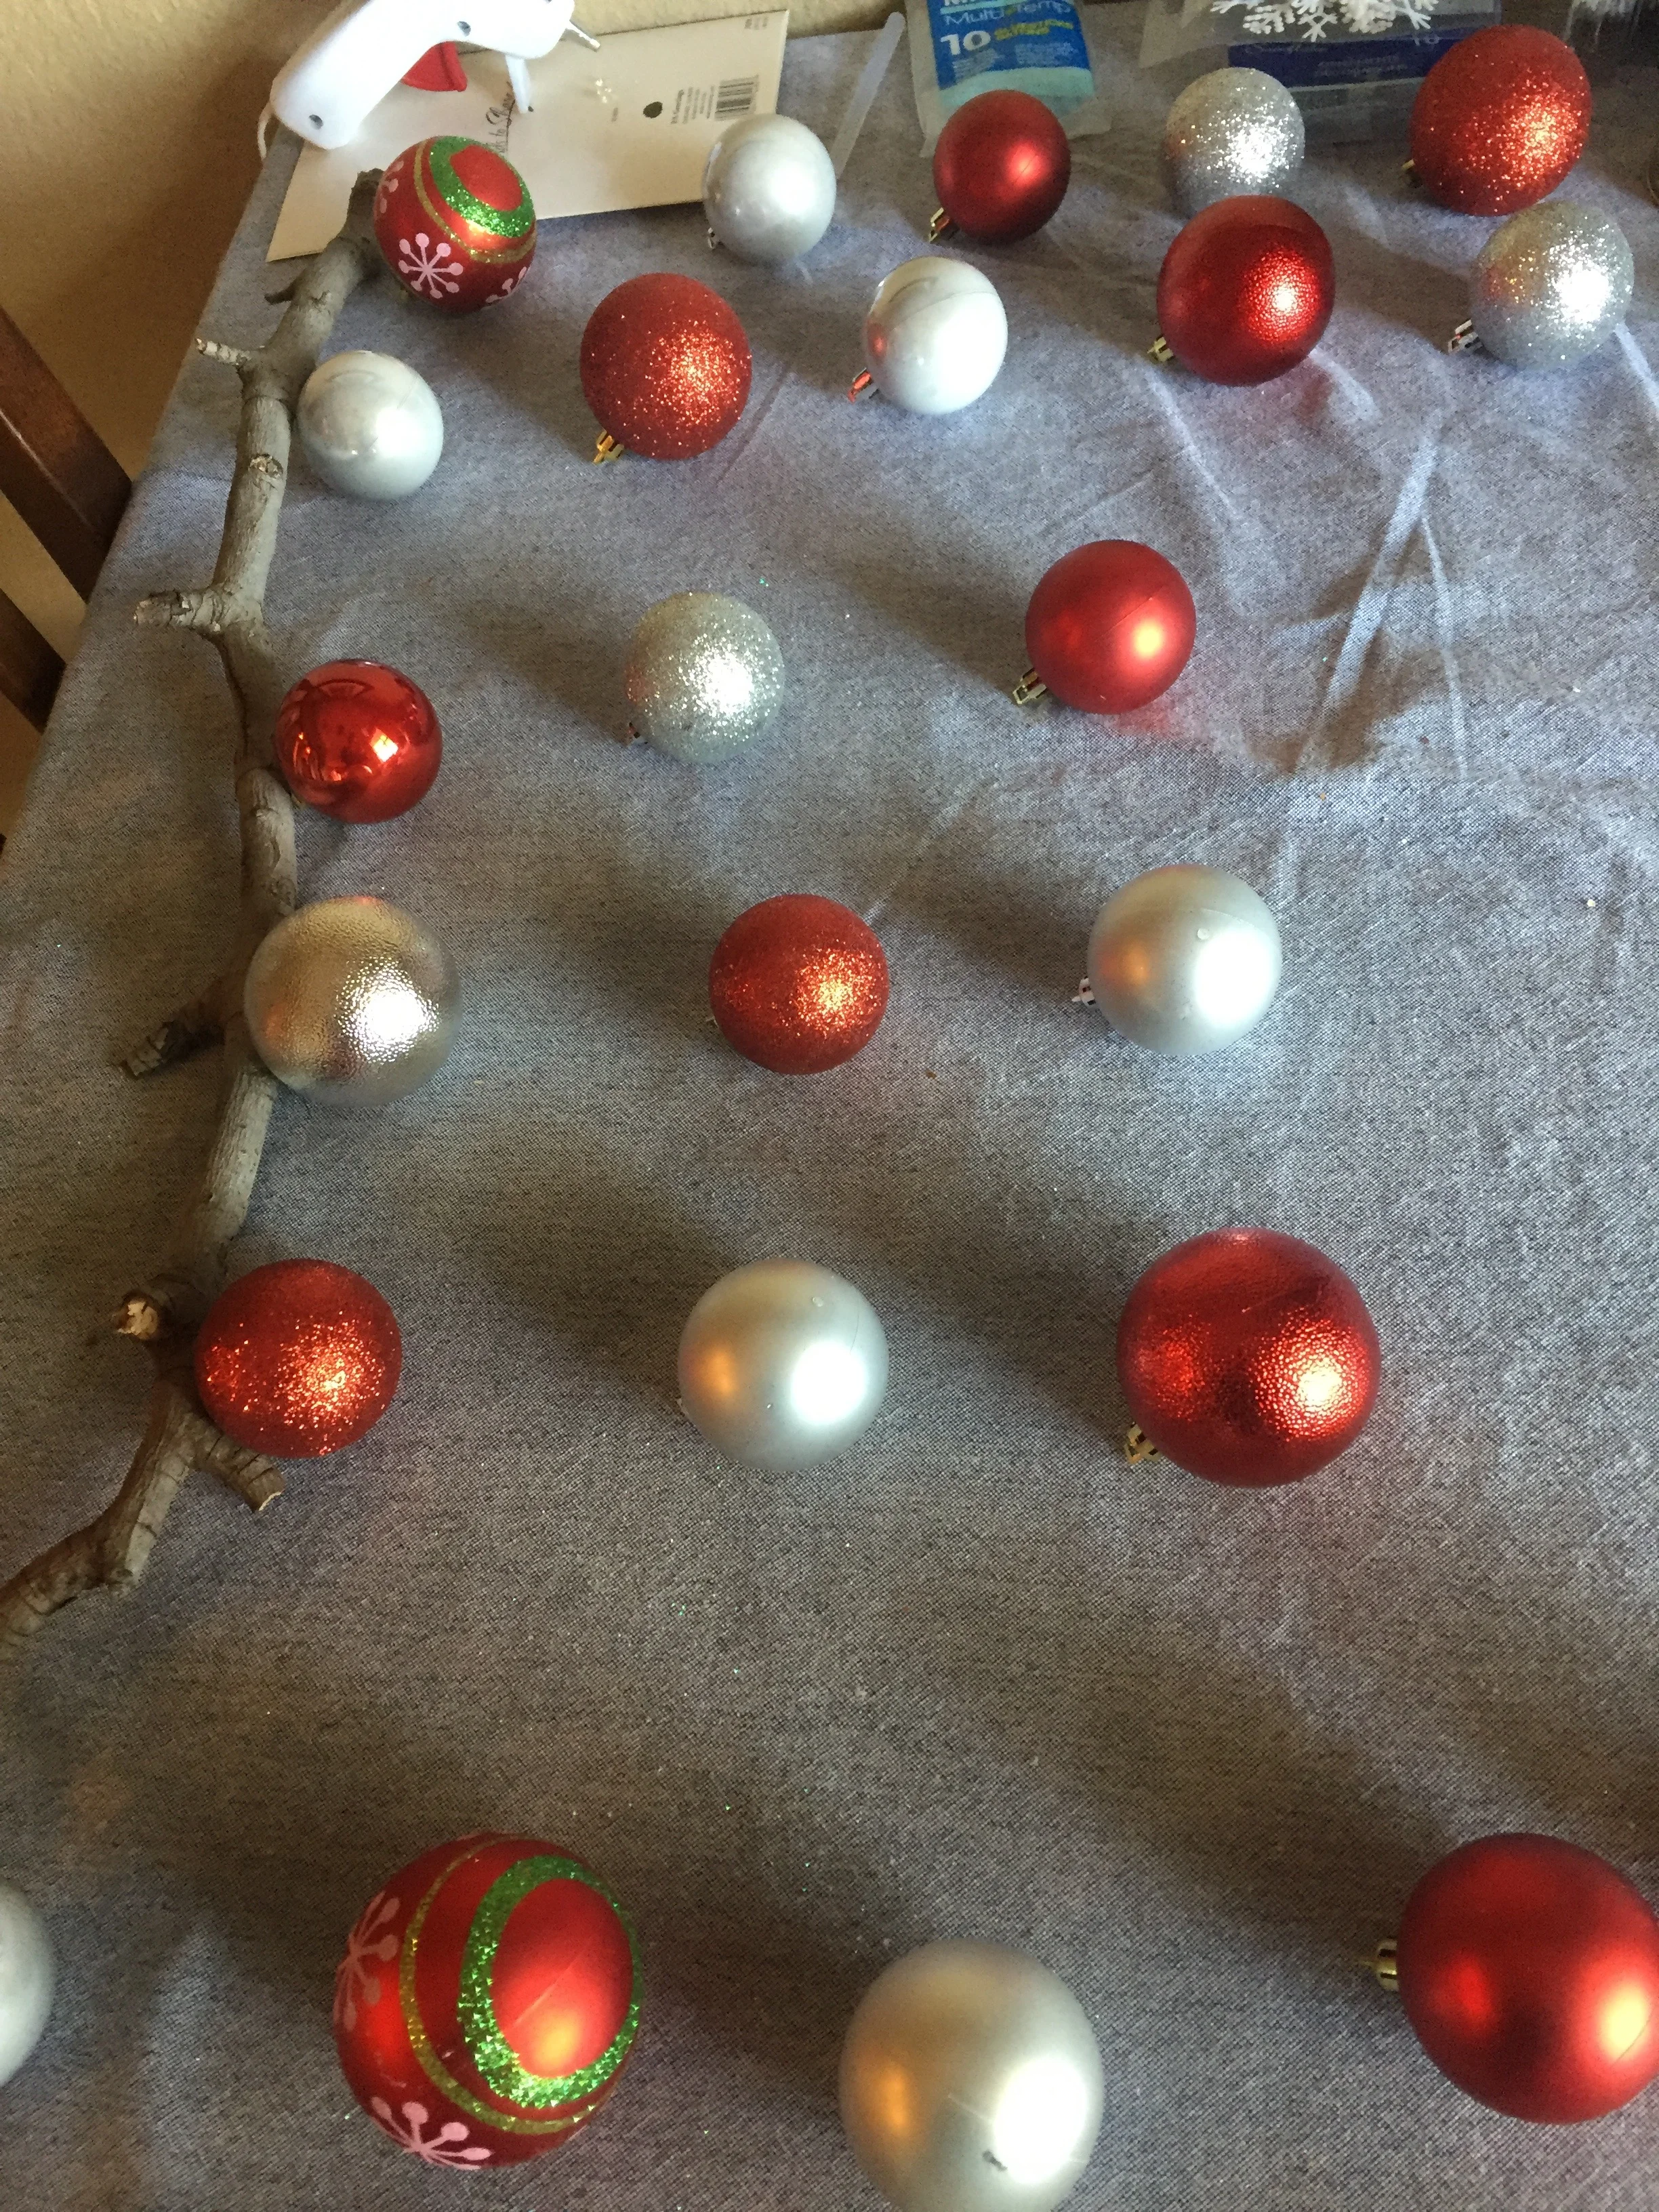
- So at first, I tried doing this the same exact way that I did the leaves. I laid it all out on my table, then tried to thread the bulbs. Big mistake. As you can see by the first one on the left, they ended up all janky. Instead, I laid them out (purely for organization purposes)
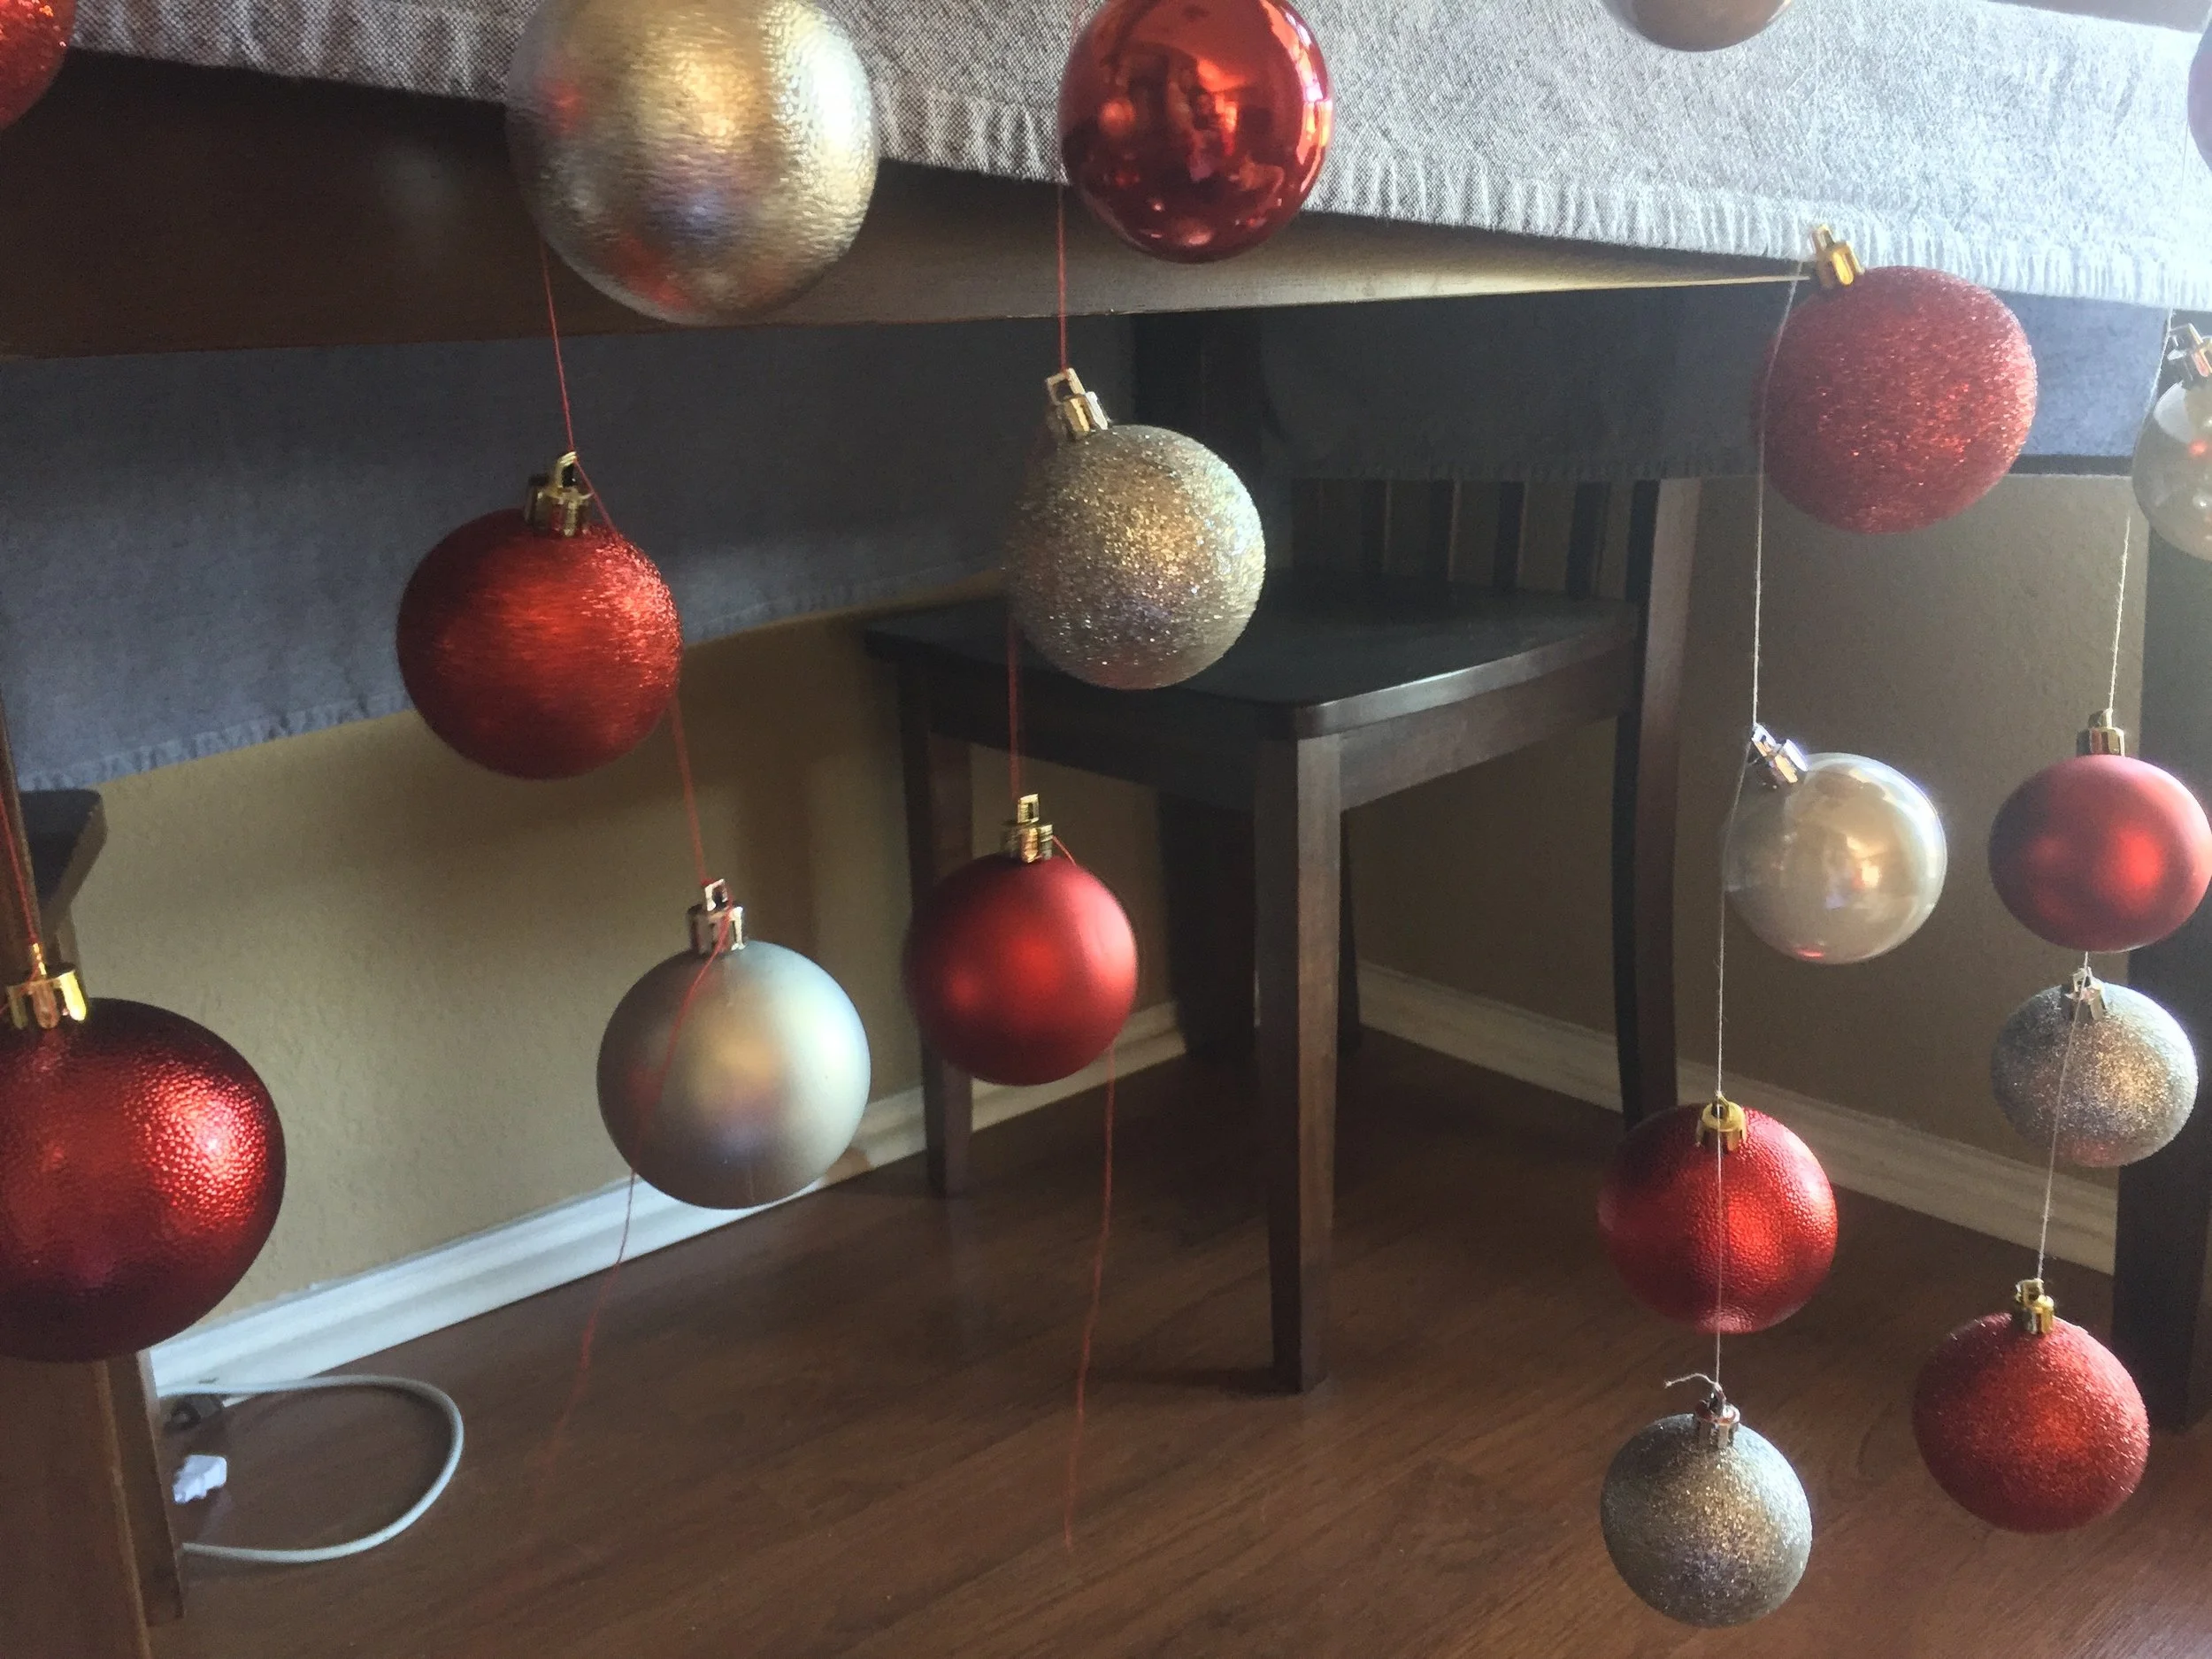
- Then I hung the branch off the side of my table. I sat on the floor, tied the thread to the branch, and started thread that way. MUCH EASIER! Just beware, leaving bulbs on your floor may result in animals messing up their order (:
- Then hang on the wall! I really like how this one turned out, but I may re-do the one strand on the left if my OCD continues making me look at it in judgement...
*Note, our apartment doesn't have the best lighting, so please don't judge my poorly lit/shadowy pics (:
*LACIE WARNING: This crap tangles like crazy. Do this craft at your own home (:
Snowflake Garland
I know I keep saying this about each of these DIYs, but I really do love how this one turned out. Plus, it took me literally 5 minutes (maybe less) to do. Since we rent, I only use nails/holes that are already there, but if I had more places to hang garland from, I'd definitely make more of these. Side note, if you hate glitter like I do DON'T USE THESE SNOWFLAKES. Jake and I have had glitter on us for DAYS.
- Lay out your snowflakes, and thread in your desired pattern!
- Hang on wall, mantel, door, window, wherever! That's it! *I did not use hot glue because I knew it would be hanging flat against a wall and not really need it. But if I had made a longer garland, I probably would've hot glued on the back to help keep them in place.
*BONUS*
DIY PET STOCKINGS
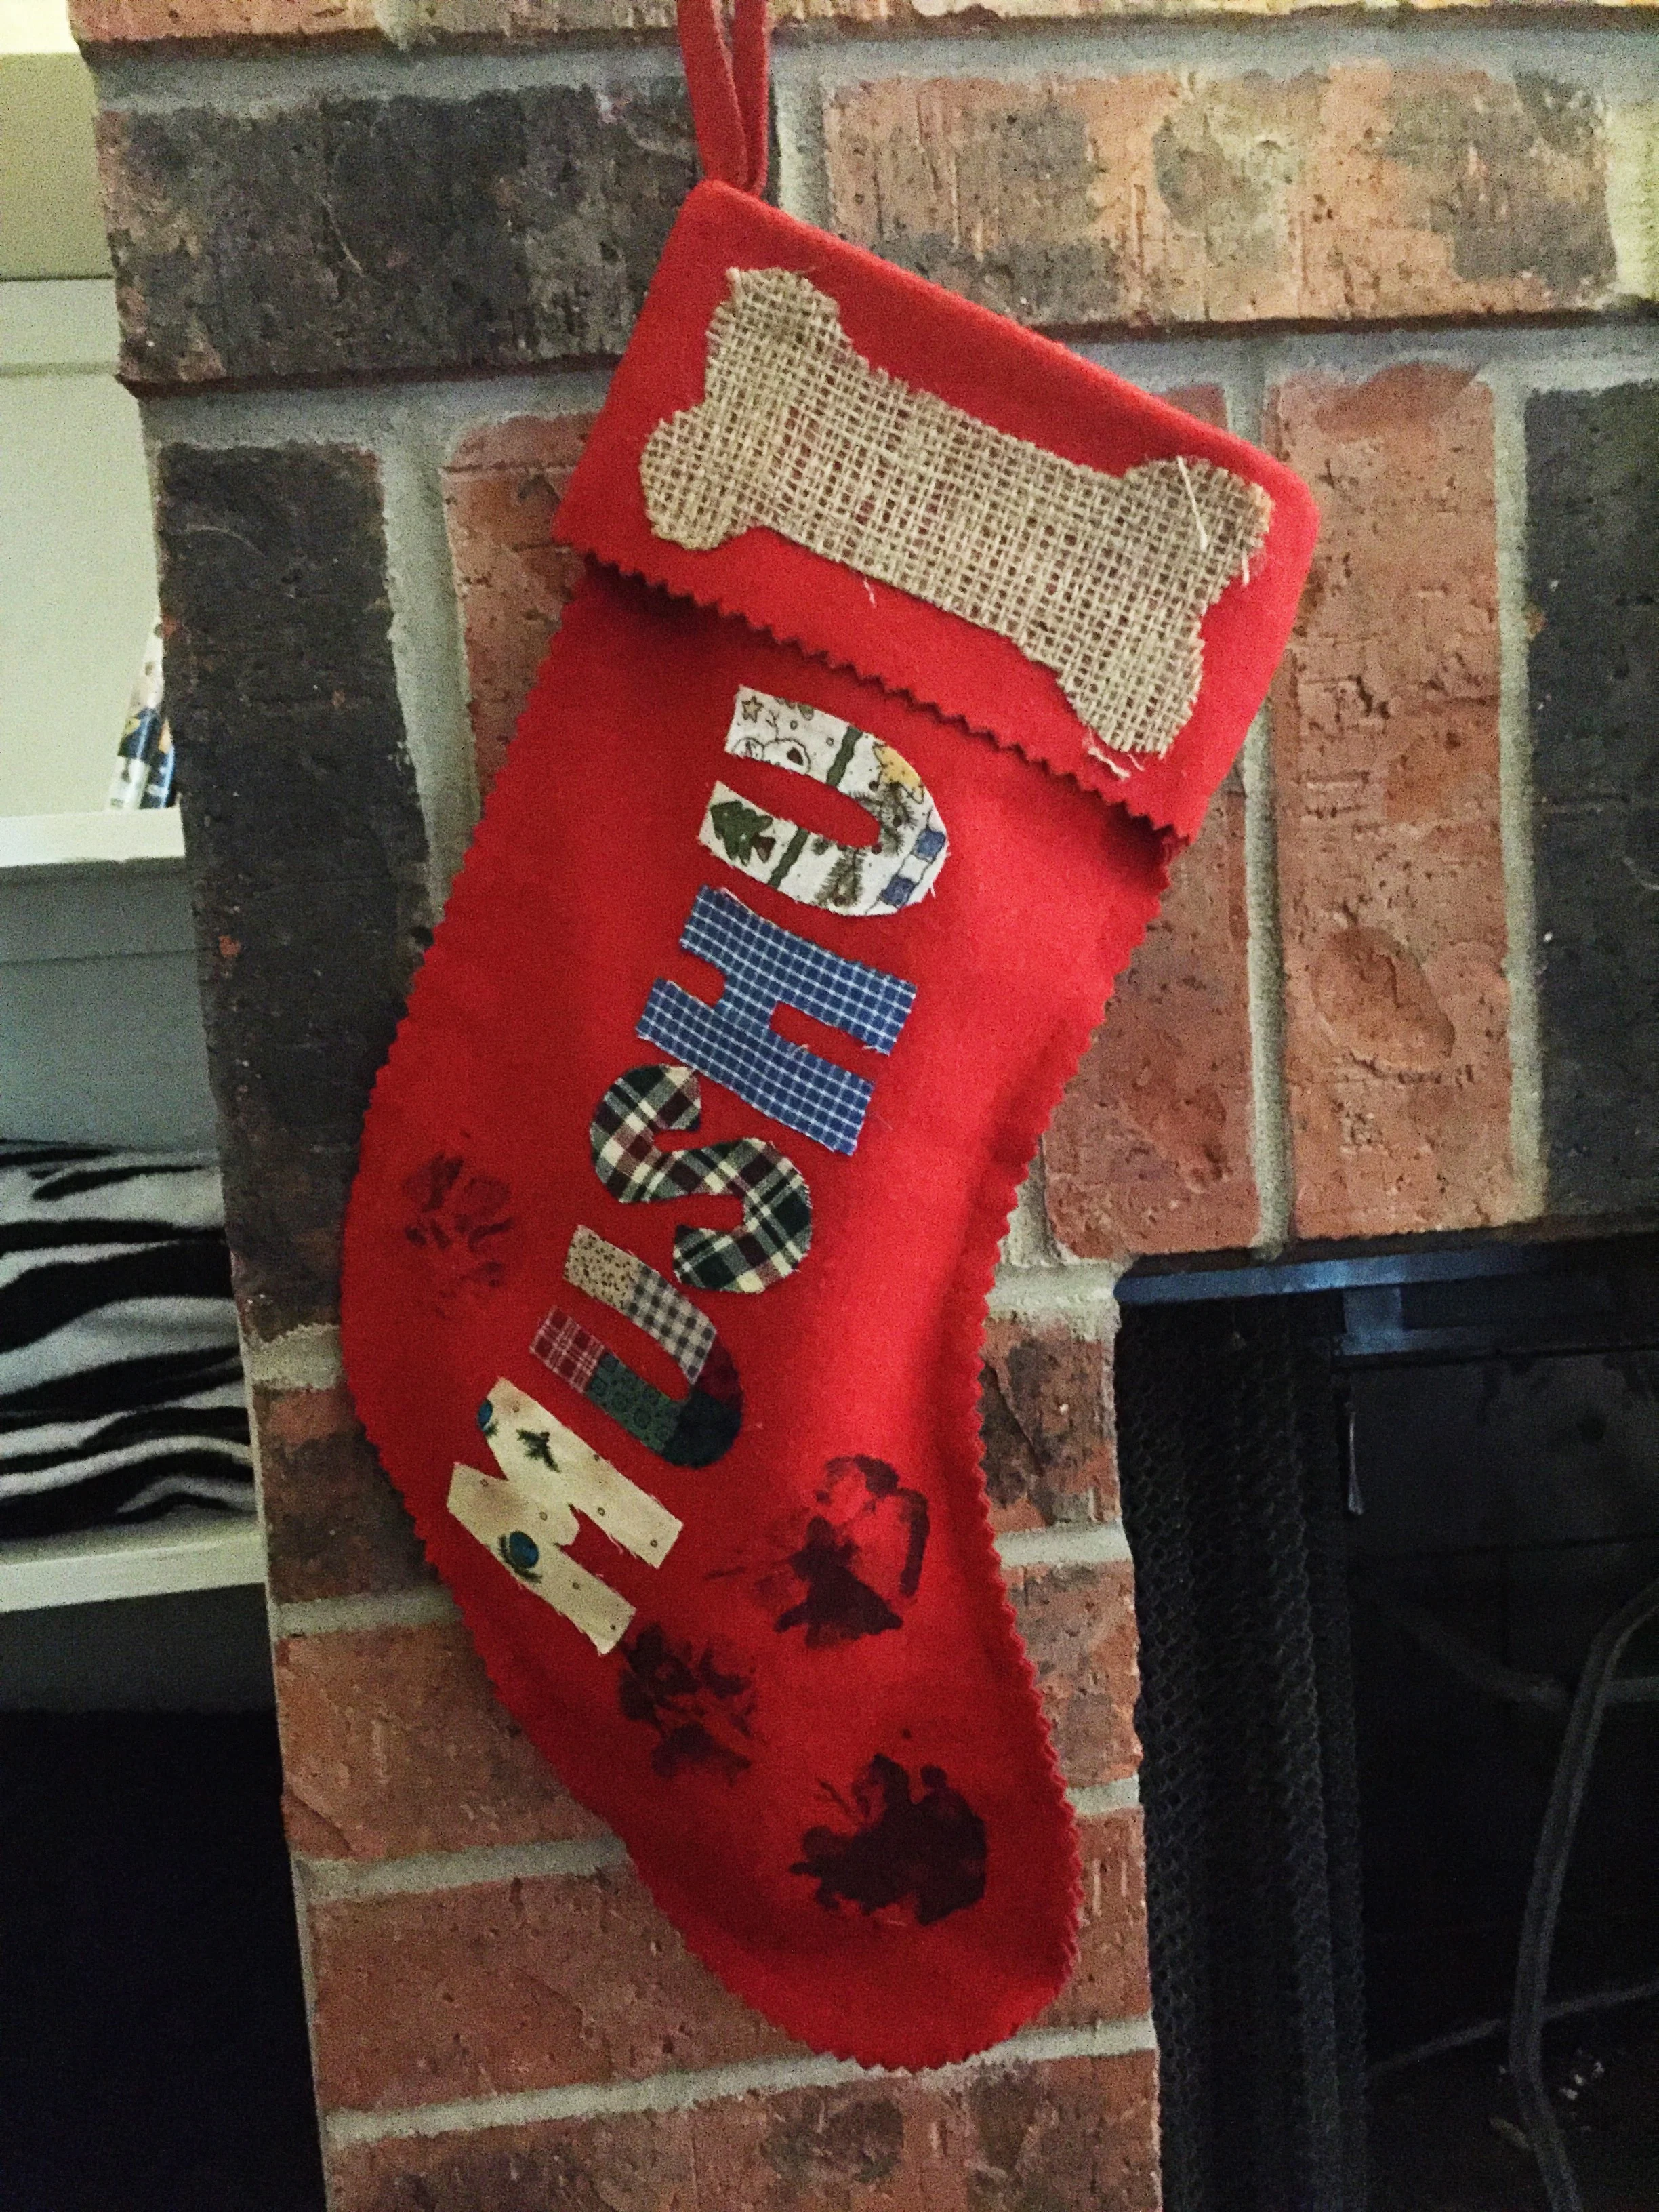
These are not something I made recently (this will be the third Christmas we've had them) but I still absolutely adore them and think they are worthy of noting! Our first Christmas as a married couple was the first Christmas Joel and I lived together! So I was determined that we would start new traditions together that would last a lifetime. I knew I wanted us to make our own stockings (which we did with all of my craft supplies, it was a lot of fun and made for a great date-night-in) but wasn't sure what to do for our little pups. Well, I found these stockings at Jo-Ann Fabrics and fell in love with them, so I got enough for all four of us! With the help of my sweet, soft-handed friend Lacie, some scrap burlap from our wedding, and some scrap Christmas fabric from another dear friend, these were made! We simply traced the letters and bones, cut them out, and hot glued! We tried to get cute paw prints on them too using finger paint... but Jake and Mushu are very uncooperative when it comes to crafting!! But oh well (: I love the way all four of our stockings look hanging up together!!
Not ready for Christmas decor just yet? Save these ideas for later on your Pinterest! You can 1) Follow me on Pinterest HERE, and pin from my "On The Blog" board. OR 2) Click the "P" at the top left corner of any photo on this post!
Looking for some easy fall decor for Thanksgiving? Check out my easy fall DIY HERE!
Have a wonderful day, and thank you for reading!!!


