Fall DIY Decor
I love fall. I love carving pumpkins, the leaves changing and falling to the ground, apple picking and cider, sweater weather, and I could go on and on. Fall is probably my favorite season to decorate for! I adore the colors and just the feeling of warmth and coziness that comes with everything FALL! But you know what I’m talking about, I’m sure you love fall too!
HOWEVER, West Texas does not have a lot of the amazing fall activities that the mid-west has always had to offer us in the past falls ): So to make up for that a little, I’ve really tried my hardest to make our little Texas home feel fall-y.
They're so precious <3
Crafting is one of my favorite things to do in the world. I love the crazy cute stuff that can be made with a little ribbon, hot glue gun, BUTTONS (omg buttons!) and a little imagination (coughcough and Pinterest duh) But with us traveling around, we do not bring along ALL of our worldly possessions with us. Just what fits into our Escape. So my crafting has been very limited. That’s why when I was trying to think of things to craft I made sure what I decided on was:
- cheap (I won’t be heartbroken if it doesn’t make the cut when we move again)
- could stay up for the entire fall, not just until Halloween.
- does not require a lot of materials
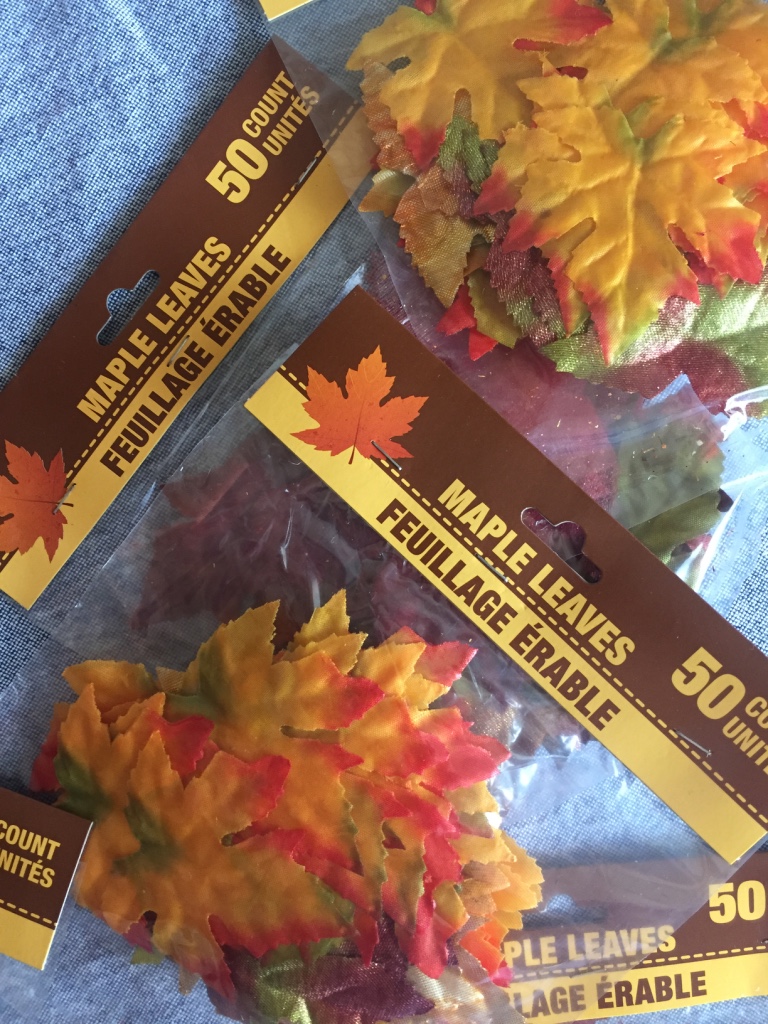
So when I saw these bags of fall leaves at my favorite store (Dollar Tree holla!!) I remembered these adorable pics I saw on Pinterest and knew I had found what I was looking for!
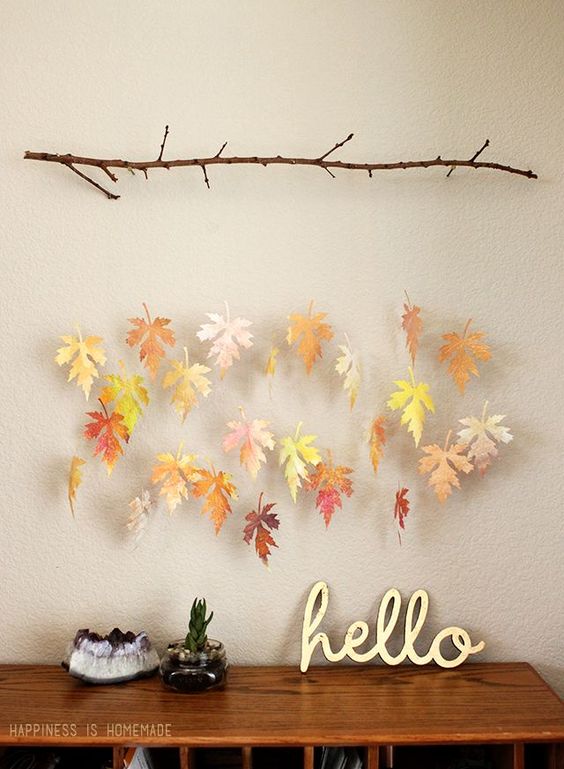
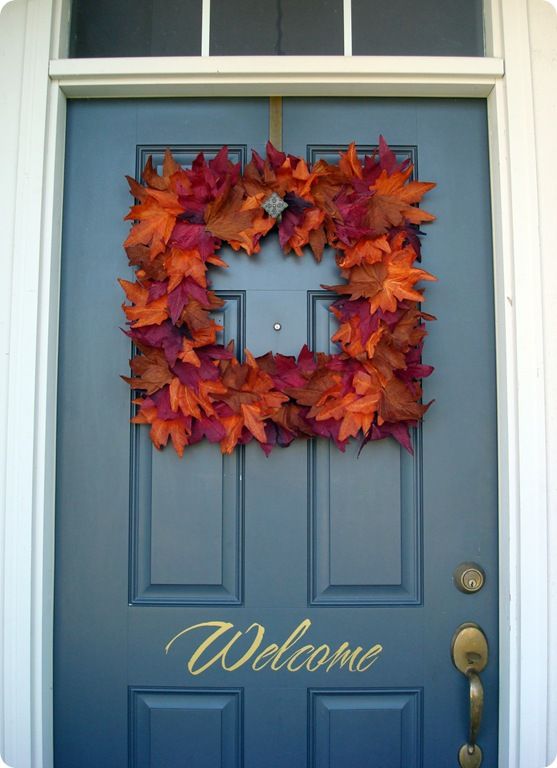
Below are the photos I based my crafts on. I DID NOT even click on the link before I made my crafts, so I had no idea what the directions may say. **I checked them out after, all are pretty similar to what I did. Click on the photos to go to their original links!*
Check out my directions below! I tried to take as many photos as possible, but I promise it’s VERY easy (:
Before I began though, I of course had to take "falling leaf” photos with the mutts. Enjoy <3
DOOR WREATH
1. Gather all of the needed materials.(frame, glue gun/sticks, fake leaves) The frame I got at Goodwill for 99 cents. The leaves I bought at the Dollar Tree for a dollar a bag. And the glue gun/glue sticks I picked up at Walmart ($2 something for the glue gun, 99 cents for the sticks)
2. Discard the glass and backing from the frame. I then pushed down all of the staples that had been holding the glass/backing on, and wiped it down to get all of the dust etc off.
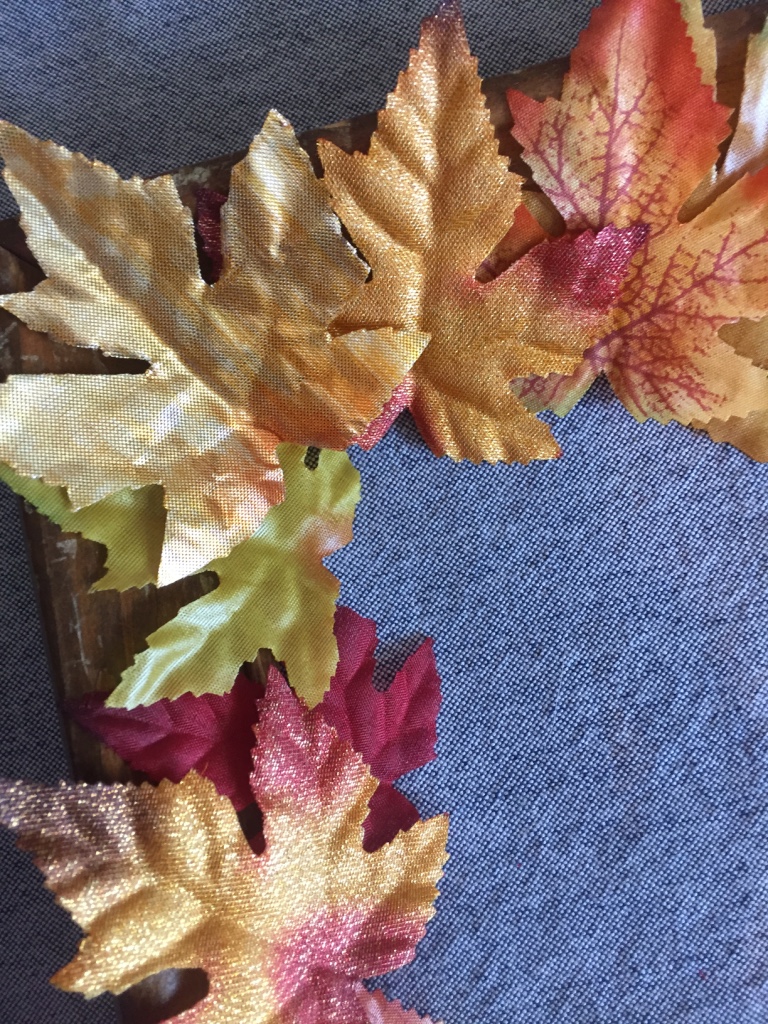
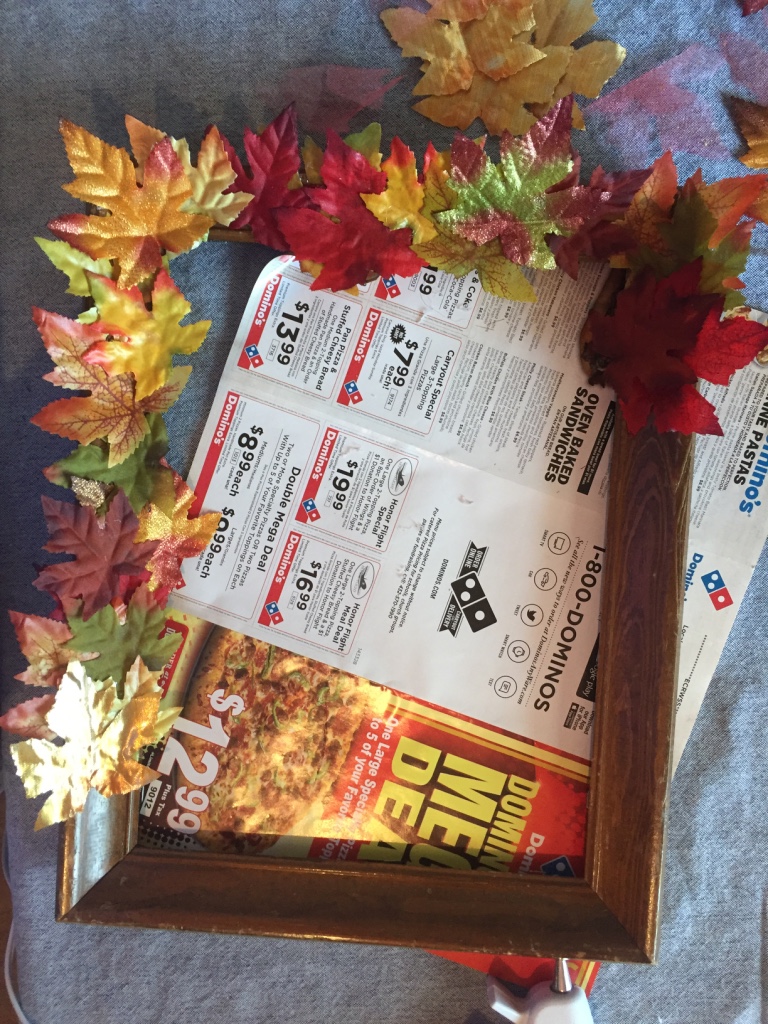
3. Once the frame dried, I laid my leaves onto the frame in the general idea of how I wanted them to look (to make sure it would look cute!)
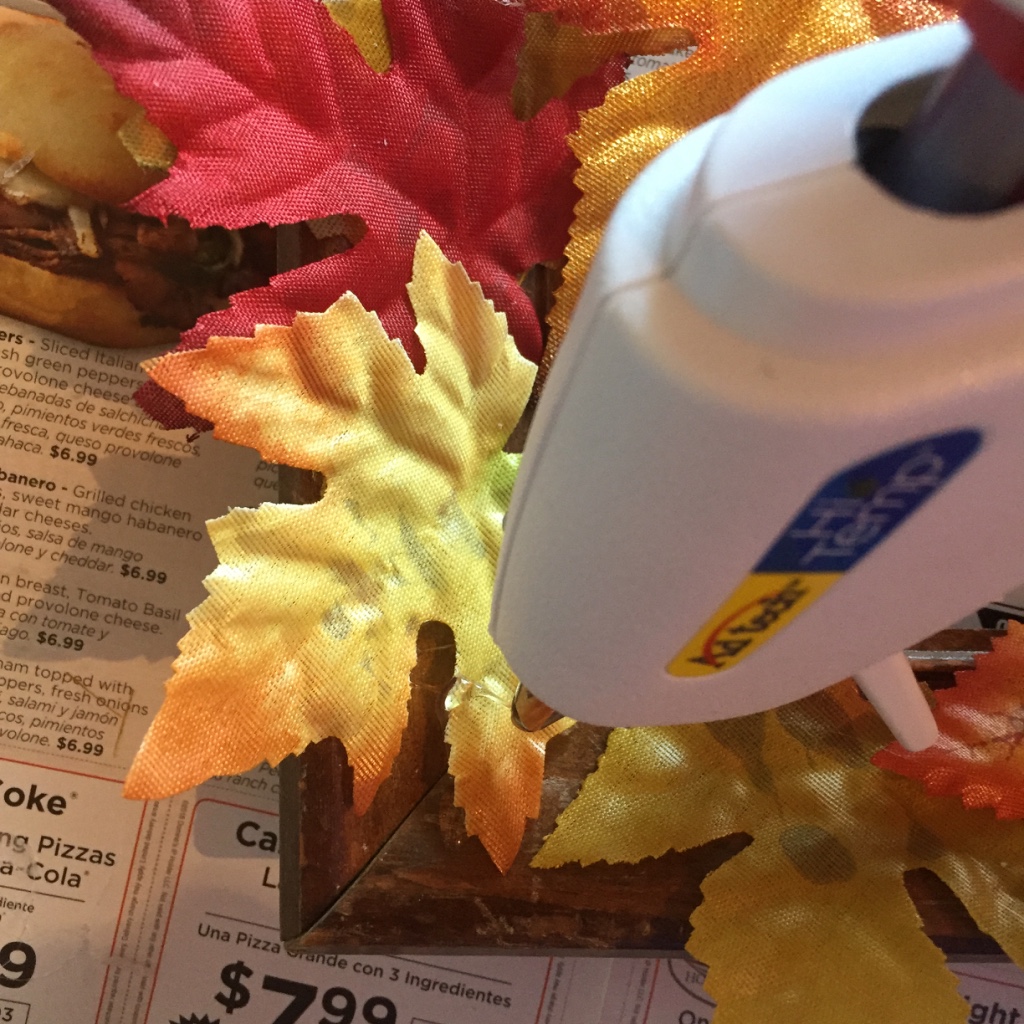
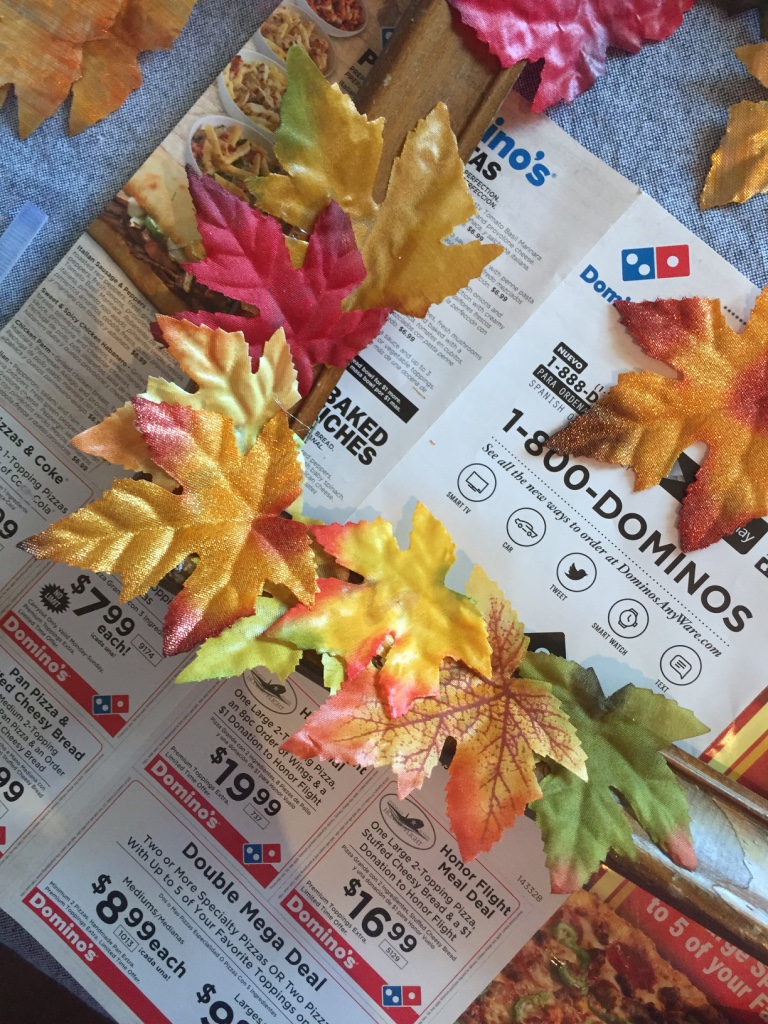
4. Start gluing! I moved leaves around and played with them a little before settling on what I liked once it was all on there. I layered them 3 to 4 thick in some places.
5. Let dry, then clean off any hot glue strings, etc.
6. Hang! Yay!! I loved how it turned out!! Not that anyone comes over to our apartment but hey, at least Joel and I can enjoy it (; After hanging it I felt like I could've gone with a larger frame... but oh well (: Like I said, 99 cents and some Dollar Store leaves, I think it turned out pretty A-OK (: I may make a bigger one for the door and move this one inside. Haven't decided yet!
I had SO many leaves left (I really don’t know what I was thinking getting so many bags!) that I went a little leaf-crazy. This branch had fallen in our patio that morning, and I took it as a sign that I needed to do this next craft also!
LEAF GARLAND/BRANCH
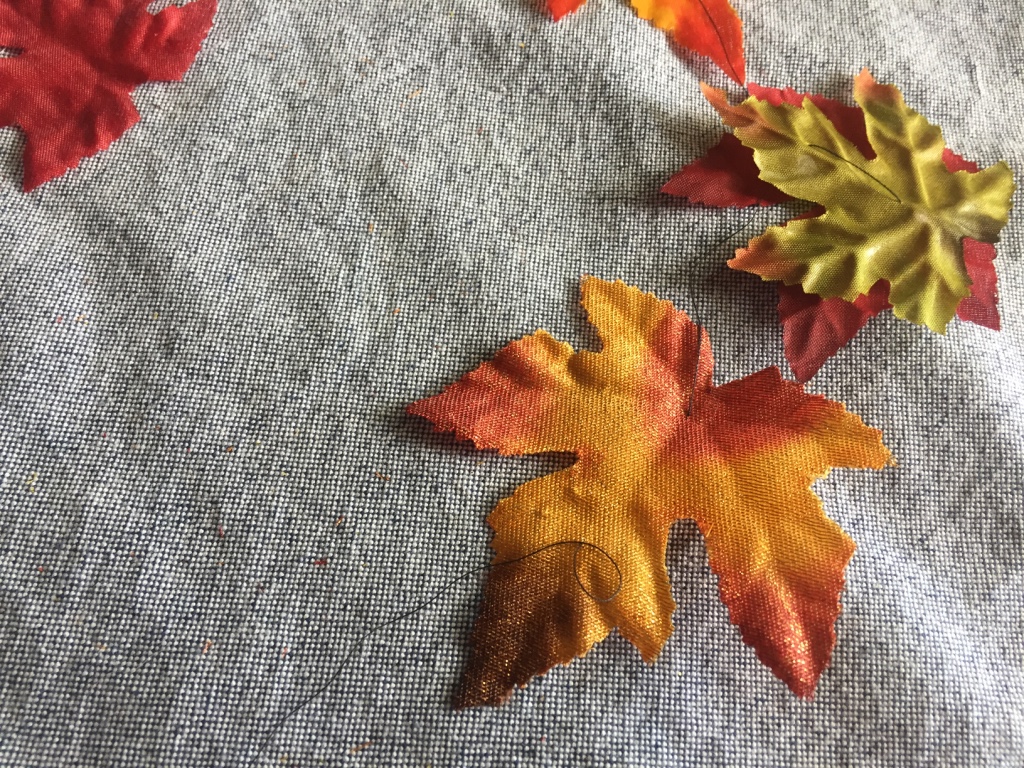
1. Gather materials (leaves, fallen branch, needle/thread) Like I said, I happened upon the branch in my patio, the leaves from the Dollar Tree were already out and beckoning to me, so all I needed to get out was my little sewing kit that my mom made me!
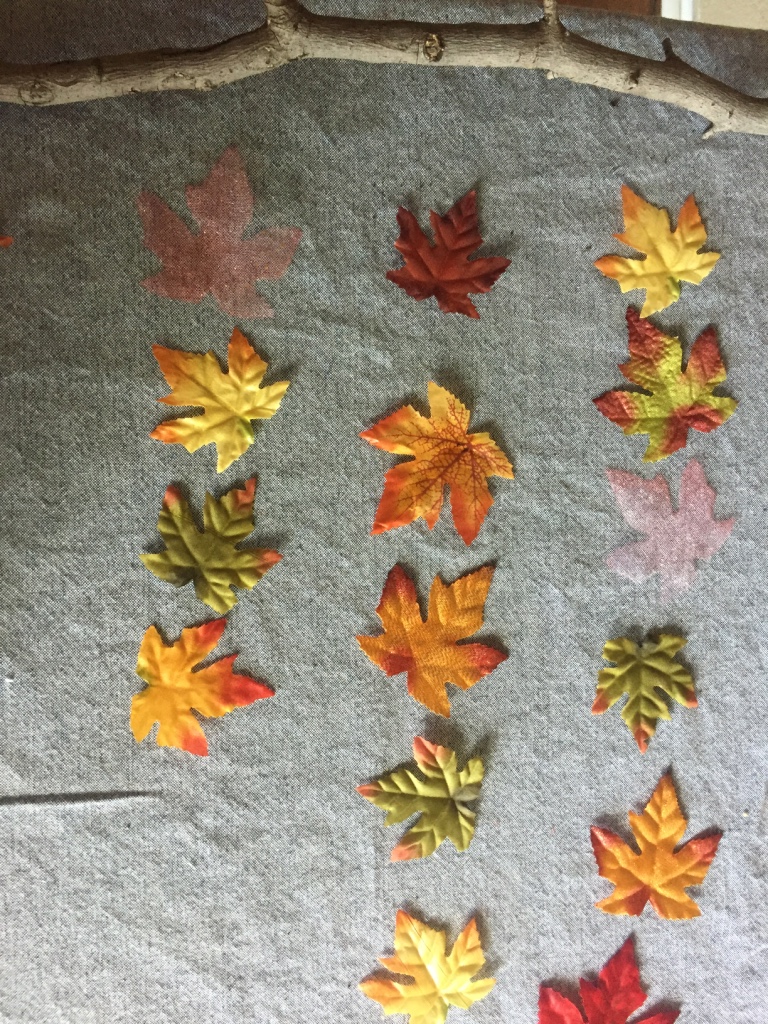
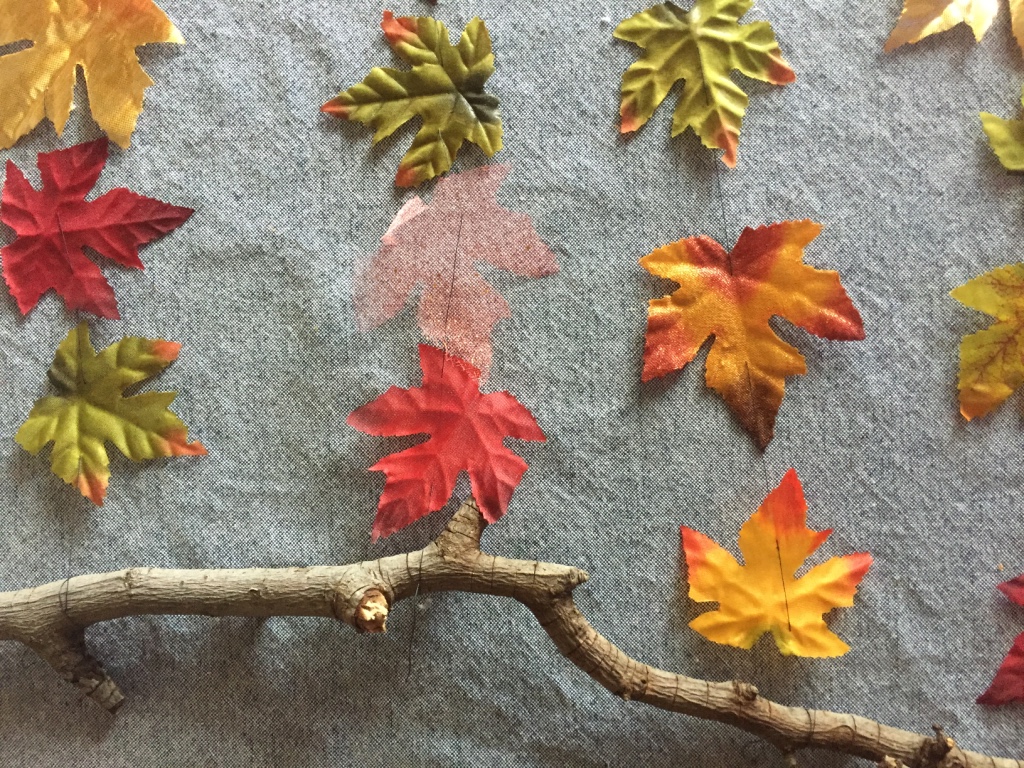
2. I laid my leaves out so I could move the order around if I wanted before threading them.
3. Thread them! I did some where the thread was on the back, and some on the front of the leaf just because.
4. Hang as garland or hang from a branch!
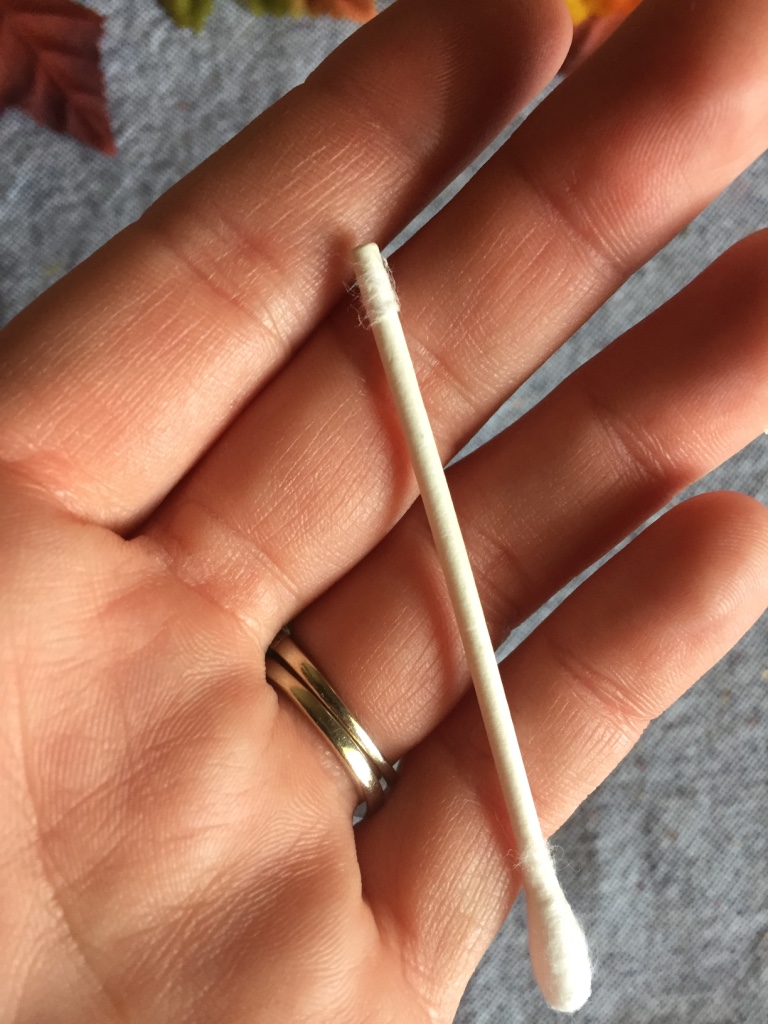
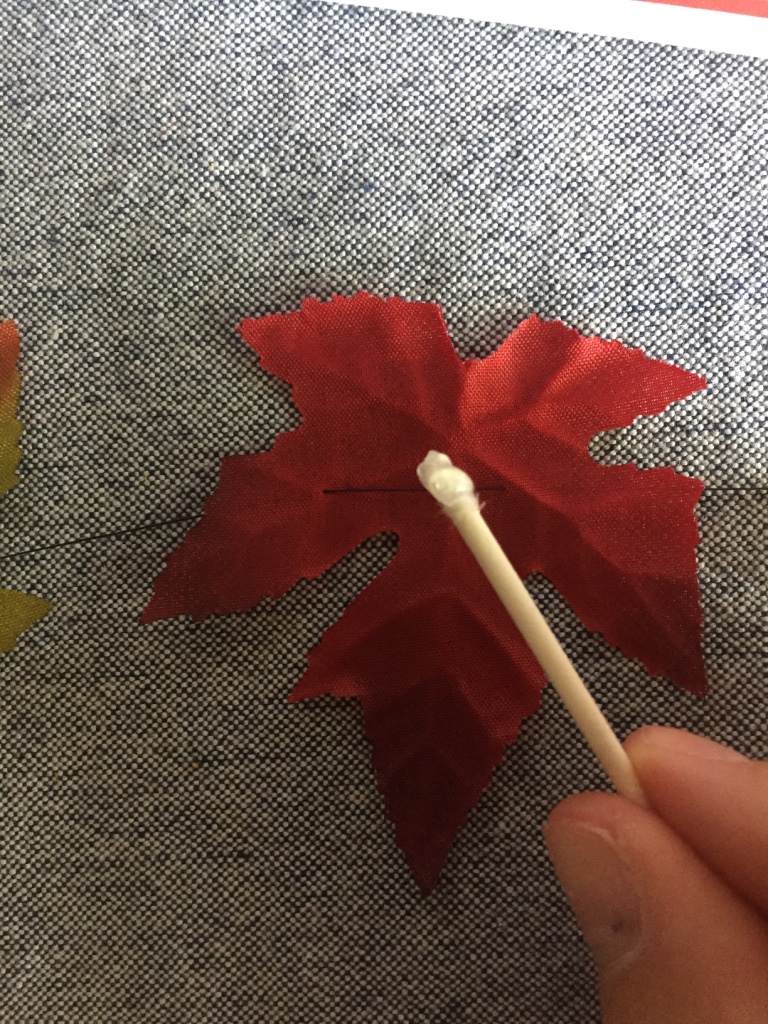
5. *For the branch only* after I had them thread together and tied to the branch, I put a little hot glue on the backs of most of the leaves to keep them from slipping. I wanted to be able to rub it in, but I did not have a toothpick, so I improvised and took the end off of a q tip (haha!) worked well enough though (: The glue keeps the leaves from sliding while it hangs.


I love having a mantel!!!
I didn't leave this garland here, because I have some other plans for this space. But I'm short so it made for a better photo here (:
I also think this would be cute hanging from clear fishing line in windows. But since my dogs are crazy, I decided not to go that route! Please someone do it and send me pics though (:
And that’s it! I think I may add a few things later this week when I can get to the Goodwill… I’ll post photos if I do (:
LET ME KNOW:
-What are your favorite cheap/easy fall decorations?
-Send me pictures if you try any of these! I would love to see your fall decorations and to see your variations of this DIY!


